Want the latest straight to your inbox?

Ever wonder what to do with all the adorable photo Christmas cards you receive every year? I can’t bear to throw away friends’ and family’s cards, not only because I’m so sentimental (and a tiny bit of a hoarder) but also because I know how much time & effort (not to mention cash) is spent on them. I will admit though, I don’t always keep the cards that don’t have photos (sorry!), which is down to only about 10% of them. And I love to look back and see how much has changed: kids have grown, new babies have been added, hairstyles are different and in some cases spouses replaced! I’ve been saving them for over 20 years and there are some really good ones in my stash (definitely rehearsal-dinner-bribing-worthy!)! The cards themselves have improved a thousand percent. Remember when you’d have to print your photos and stick them either into or on top of the cards? That was a project of gigantic proportions that would take me days even with a small assembly line. Thank you, technology!

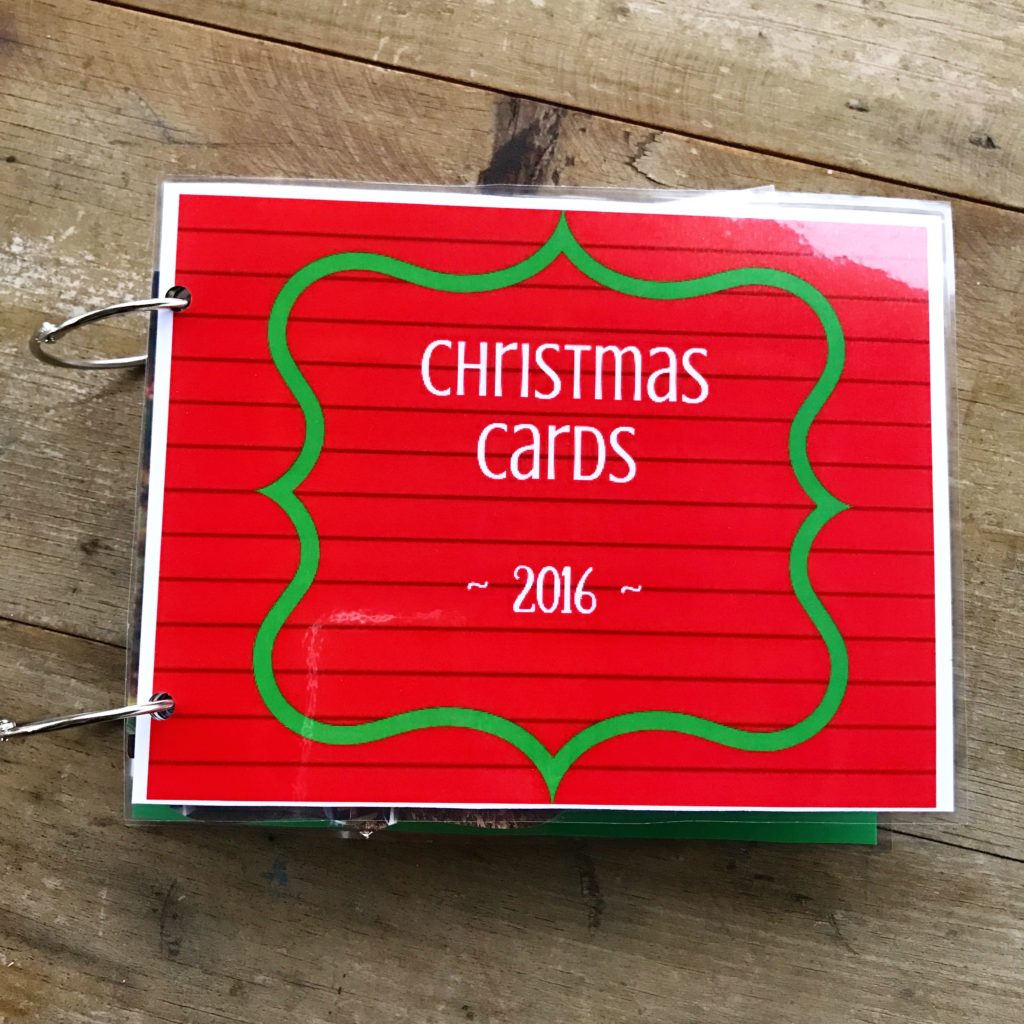
For the last few years I’ve been saving and organizing the cards into mini Christmas card scrapbooks. It’s quick, easy, inexpensive, takes up very little room and you’ll have all your cards in one place. The cover of the mini book will announce the year of the project. Below is my step-by-step how-to.
What You’ll Need:
-White cardstock paper for the front cover
-Cardstock paper in your choice of color for the back cover (I used green)
-Two large book rings
-Hole punch (I used 2 holes of a 3-hole punch, but a single-hole punch works too)
For the front, print out the cover I made by clicking here: Christmas Card Scrapbook Printable. Cut around the edges right up to the red color. Then cut the piece of cardstock for the back cover the same size. {Note about the front cover printable: for mine I printed the years on there but for the printable I did a tree design. For yours, you can either write the year on the cover or a sticker with a black Sharpie, or I will even make you a new one if you email me.

If you have a laminating machine, laminate both front and back covers with fairly thick laminate. If not, take the covers to Office Depot and ask to have them laminated (it’s very inexpensive). Afterwards, trim both down with scissors to the size of the red area front cover printable.

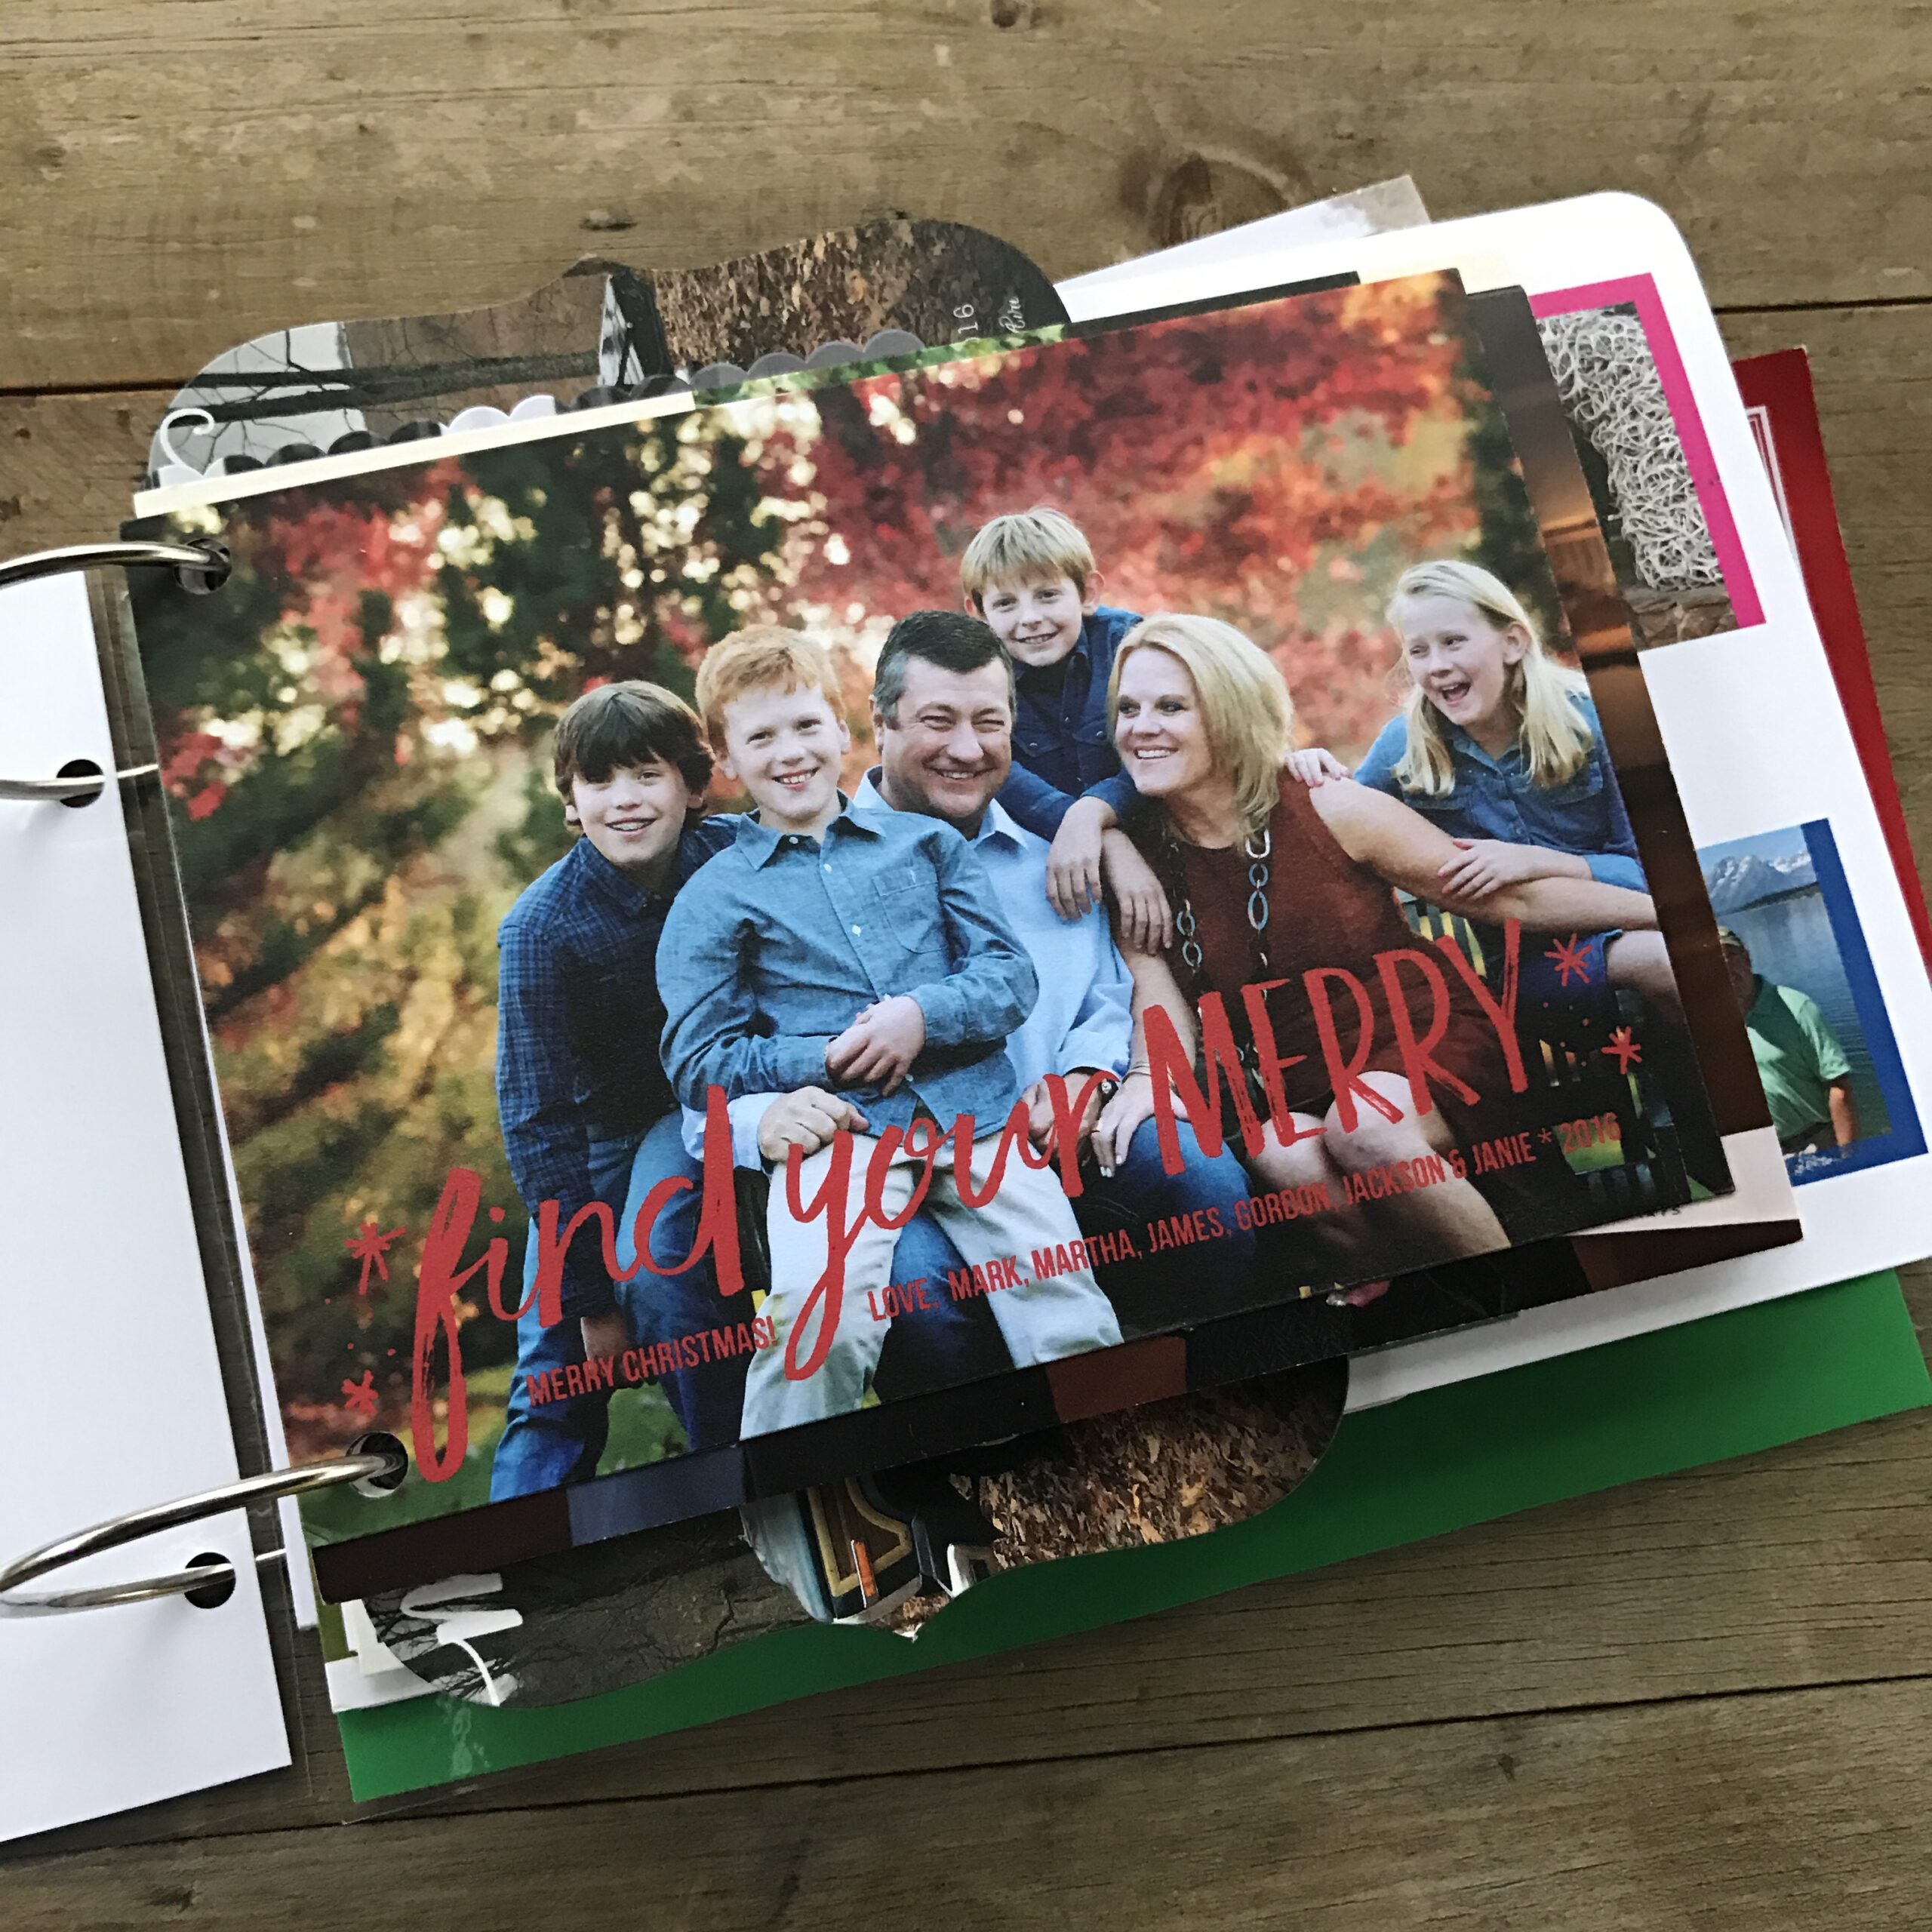
Stack all your Christmas cards in the order you want them to appear in your little book, then punch two holes in each. I do save Christmas letters and I fold them right up and punch holes just like the cards. Depending on the shape and size of the card, they will be turned different ways, and stick out above or below the covers. This is okay because in the end it makes the book look more interesting!

Punch two holes in the front and back covers. For fold over cards, go right ahead and punch holes through both pieces. Insert the rings into all the cards and covers and you’re done! Mine hold about 60 cards, which is a lot but will still work. You will just need to insert the front half of the book on the left side of the open rings face down, and the second half of the book on the right of the open rings face up, close the rings then bring the book together. Make sure to lock the rings in place or you’ll be playing 52-card pickup.
Store your creation with all your other Christmas decorations. The rings are sturdy enough to even hang on hooks, which is the perfect way to store them.
So far I have 6 years’ worth of these colorful little treasures. During the Christmas season I lay out the past year’s on the cocktail table. They are a great conversation starter.
Tune in next year to see if aunt Bertha is still wearing the same tacky Christmas sweater!


0